How To Clean Shower Head Without Vinegar: 4 Alternate Methods
*This post may contain affiliate links. As an Amazon Associate I earn from qualifying purchases.*
Have you ever looked at your shower head and wondered why half of the nozzles aren’t spraying water, and a few of the ones that are, seem to be spraying it in every direction but down into the shower where it belongs?
Ponder no longer. The answer to both of these mysteries is “mineral deposits”.
Your clogged shower head is annoying, but it is a problem that can be fixed even without using harsh chemicals.
Vinegar is often the most common way to clean your showerhead but it is not the only way! If you want to know how to clean shower head without vinegar then you’re in luck.
In this post, we will discuss the issues that this mineral build-up can cause, and share a few common mineral buildup removal tips. Plus, one weird but effective trick that will help get your shower head flowing just like the day it was installed.
We are going beyond the standard vinegar and water technique. We will dive into other methods that work just as well…or better.
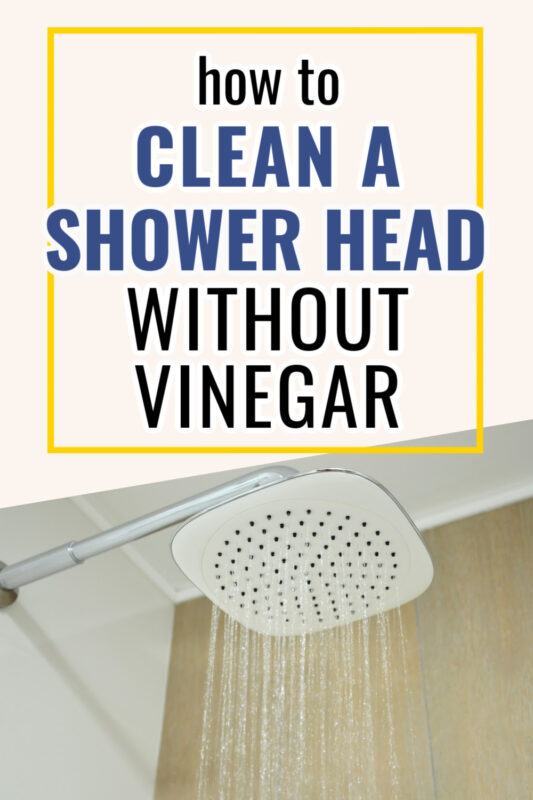
4 Methods for How to Clean Shower Head Without Vinegar
If you’ve not got vinegar on hand or if you just don’t want to use it, we’ve got plenty of other cleaning methods you can try.
Related: How to Clean a Portable Ice Maker
Why You Should Clean Your Shower Head
Over time, the minerals in your water wind up caked up on the tiny nozzles of your shower head creating blockages that either cut off the flow of water completely or send it spraying out in erratic directions.
Worse still, as these mineral deposits continue to accumulate, they will eventually cause the water pressure to build up behind your shower head. This weakens the seal and causes it to leak at the point where it attaches to your shower plumbing.
Below are several different ways to clean your shower head. They are all aimed at getting rid of hard water stains and mineral build-up.
The best way to do it will be up to you. You decide what works best for your home and situation.
Method #1: Baking Soda Solution

Baking soda is one of many excellent natural cleaners that is excellent for breaking down greases, oils, and mineral buildup.
The baking soda shower head cleaning method puts baking soda and plain water to work to break down the mineral build-up on your shower head
Tools You’ll Need
- ½ cup baking soda (approximate)
- Mixing bowl or other container
- Warm water
- A toothbrush or other small soft-bristled cleaning brush
- Cleaning cloth or towel
- Rubber gloves (optional)
While baking soda is an effective natural cleanser, this cleaning process will require a bit of elbow grease on your part.
It may not be the easiest way to clean your shower faucet head. However, it does avoid the use of harsh chemicals.
- Pour ½ cup of baking soda into a waterproof mixing container. Slowly add warm water, mixing continuously to form a thick paste. The finished paste should be roughly the consistency of toothpaste.
- Use an old toothbrush or small soft bristled cleaning brush to gently work the baking soda paste into the spray nozzles of the shower head. Apply the paste to any other surface areas that show mineral buildup as well.
- Once you have thoroughly coated the shower head and each nozzle, allow the baking soda to work its magic for approximately 25 minutes.
- Use a clean damp towel or rag to wipe away the remaining baking soda paste from the surface of the shower head
- Run hot water through the shower head. This clears any remaining mineral deposits and baking soda paste from the shower head nozzles
- Give the shower head one final wipe with your cleaning cloth to remove any dislodged material on the surface of the shower head
Method #2: Hydrogen Peroxide Solution

The hydrogen peroxide method of cleaning your shower head is similar to the baking soda method described above. However, the hydrogen peroxide’s antifungal properties provide a disinfecting boost, and the bubble action does much of the scrubbing for you.
Hydrogen peroxide can be caustic to sensitive skin. Be sure to wear rubber gloves when cleaning with the hydrogen peroxide and baking soda mixture. They are used in equal parts to create a homemade cleaning solution.
Tools You’ll Need
- ½ cup of baking soda (approximate)
- ½ cup of hydrogen peroxide (approximate)
- Plastic bag
- Rubber band
- Rubber gloves
- Toothbrush or other small soft bristled cleaning brush
- Cleaning cloth or towel
- Rubber gloves (optional)
For this method, you will be combining the baking soda and hydrogen peroxide in the plastic bag. You’ll then affix it to the shower head for an extended soaking time. Alternatively, if you are handy with a wrench you can remove the shower head and soak it in a separate container.
- Combine the baking soda and hydrogen peroxide in a watertight plastic bag. It needs to be large enough to submerge your entire shower head in the solution.
- Submerge your shower head in the plastic bag containing the baking soda and hydrogen peroxide solution and use a rubber band or tie to hold the bag securely in place on the shower head.
- Allow the solution to break down the mineral deposits on your shower head for 20 – 30 minutes before removing the bag and disposing of the solution.
- Run hot water, at high pressure through the shower head for a few minutes to dislodge and rinse away any remaining deposits and debris.
- Use a damp cleaning cloth or towel to wipe away any remaining solution and dislodged debris
Method #3: Oven Cleaner

Yes, you read that correctly, this next method uses oven cleaner to clear the mineral deposits from your shower head.
Commercial oven cleaners use potent chemicals to scour baked on grease, and food deposits from the racks and walls of your oven. These same chemicals make short work of the mineral deposits on your shower head.
One word of caution, while the oven cleaner method is by far the easiest method on this list, it does involve the use of some pretty serious chemicals so you will want to take precautions with this one.
Wear rubber gloves to protect your skin, and consider wearing a ventilator mask to avoid breathing the chemical fumes.
You will also want to leave a window open in the bathroom to help clear the fumes from your home as quickly as possible.
Tools You’ll Need
- Oven cleaner
- Rubber gloves
- Ventilation mask (optional)
- Cleaning cloth or rag
- Don your rubber gloves and mask, and open a window in the bathroom to provide plenty of ventilation before you begin
- Spray the entire shower head with the oven cleaner. Ensure that all surfaces are completely coated to remove all mineral build-up
- Let the oven cleaner go to work on the mineral deposits for approximately 20 minutes
- Run hot water, at high-pressure through the shower head to rinse away any remaining product, along with the dissolved mineral build-up
- Use a damp cleaning cloth or rag to wipe away any remaining residue, or debris
Method #4: Coke-A-Cola (yep…Coke-A-Cola)

If you thought the last method was a bit unusual, this one is even more of a head-scratcher.
However, as strange as it may seem, the Coke-A-Cola cleaning method has been circulating among home cleaning gurus in the know for quite some time.
So, let’s take a look at this effective, and admittedly weird, cleaning method.
Tools You’ll Need
- One 12-ounce can of Coke-A-Cola
- Plastic Bag
- Rubber band or string
- Toothbrush or other soft bristled cleaning brush
- Cleaning cloth or rag
- Pour one can of Coke-A-Cola into a large plastic bag
- Submerge the shower head in the bag of Coke-A-Cola
- Use a rubber band or string to secure the bag to the shower head apparatus
- Allow to sit for a minimum of 20 minutes, and a maximum of 30 minutes
- Remove the bag, and discard both the bag and the contents
- Use a toothbrush, or soft bristled cleaning brush to gently scrub the shower head nozzles to loosen any stubborn mineral deposits
- Run hot water, at high-pressure through the shower head to rinse away any remaining Coke-A-Cola, and debris
- Wipe clean with a cleaning cloth or rag
As an alternative, if you are uncomfortable with the idea of suspending a bag of sticky soda from your shower head, and you are handy with the tool kit, you can remove your shower head assembly and soak it in a bowl, or other container of Coke-A-Cola instead.
Just make sure that you replace the shower head promptly, and rinse with hot water, at high pressure so you don’t end up with sticky dried soda inside your shower head nozzles.
How Often To Clean Your Shower Head
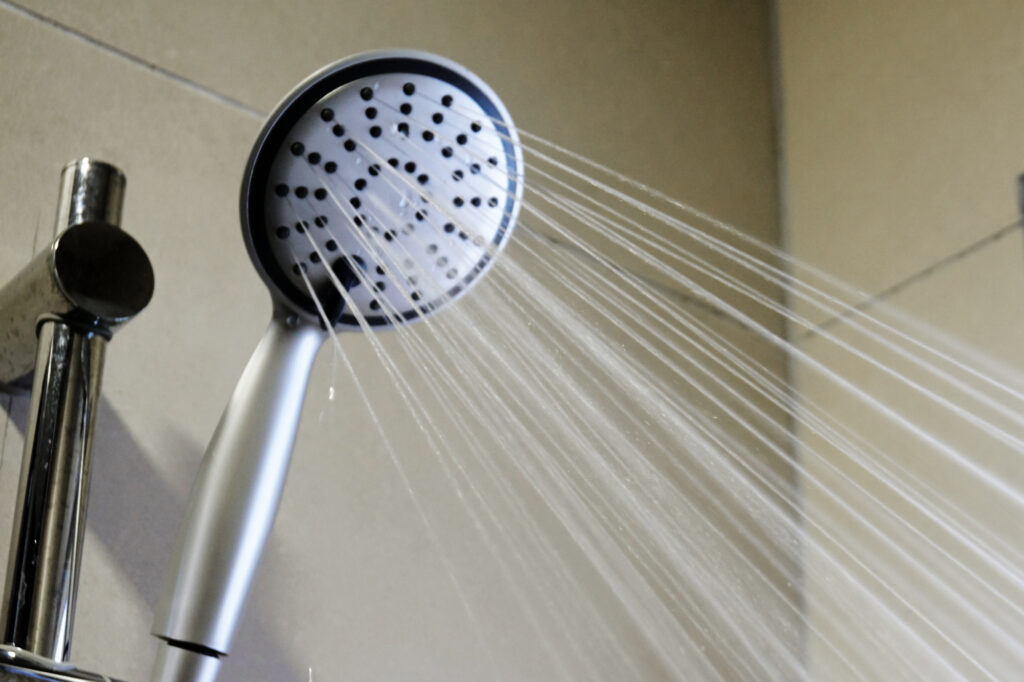
Now that we have explored several effective methods for deep cleaning your shower head, let’s talk about how often you should be going through the process of removing mineral build-up from your shower head.
The rate of mineral buildup on your shower head will be largely determined by the mineral content of the water in the area where you reside. That being said, as a general rule of thumb, you should be cleaning the scale build-up from your shower head approximately once a month to keep your shower head functioning like new.
If you happen to live in an area with particularly high mineral content, you may need to plan on cleaning your shower head more frequently.
The good news is that you’re now equipped with several proven methods for cleaning a dirty shower head.
Get into the habit of a routine cleaning of your shower head and you’ll find that you don’t run into nearly so many issues over time.
The hard water deposits will be much easier to remove from your clogged showerhead if they’re not left there for a long time. It’s always a good idea to clean your shower head on a regular basis to make your job easier in the long run.
Another thing to consider if you have really hard water is to invest in a water softener. This can help with a number of different things including avoiding future clogs in your shower head.
Final Thoughts
As we have shown in this post, there are a number of methods that you can use to clean your shower head without turning to the tried and true (but quite smelly) vinegar cleaning method. Believe it or not, these are just a few of the many options available for cleaning the mineral build-up from your shower.
We have taken the time to break down our favorite non-vinegar shower head cleaning methods, so now it is your turn.
We would love to hear your favorite tips for removing that icky, mineral scale from your shower heads. Share your tips and tricks in the comments section below.